
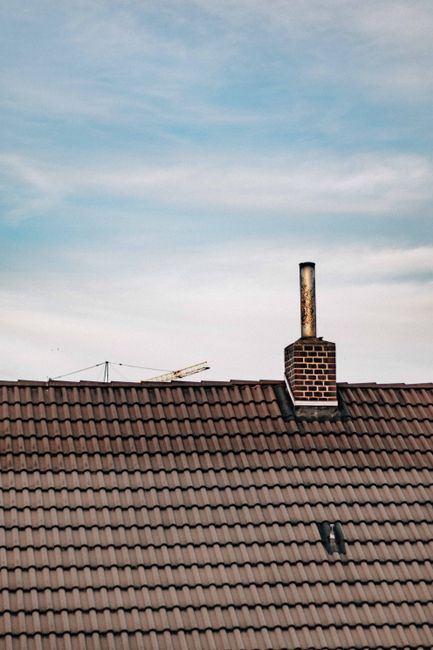
What is roof flashing?
Roof flashing is a water-shedding material installed where roofing meets another surface, changes direction, or is interrupted by an opening. It is commonly made from metal, but some applications use flexible membranes or specially formed roofing materials.
Flashing helps guide rain, melting snow, and ice away from vulnerable areas. Instead of allowing water to collect at a joint, flashing directs it back onto the roof surface or away from the building.
A roof may look intact from the ground while flashing underneath shingles, around a chimney, or along a wall has deteriorated. This is why flashing problems can cause leaks even when the main roofing material appears to be in reasonable condition.
Where is flashing used?
Flashing is installed at many of the locations where water is most likely to enter a home, including:
- Roof-to-wall intersections
- Chimneys and masonry features
- Plumbing vent pipes
- Skylights
- Dormers
- Roof valleys
- Eaves and rakes
- Areas where two roof slopes meet
- Edges around additions or lower roof sections
- Roof penetrations for equipment or structural supports
Each location requires a different detail. A strip of metal that works along a roof edge may not be suitable around a chimney or where a sloped roof meets a vertical wall.
Why does flashing matter so much?
Flashing protects the joints and transitions that roofing shingles alone cannot reliably seal. These areas experience concentrated water flow, movement from temperature changes, and repeated exposure to wind, snow, and ice.
In Red Hook, seasonal freeze-thaw cycles can make these details especially significant. Water can enter a small gap, freeze, expand, and gradually loosen surrounding materials. Repeated wetting and drying may also cause wood sheathing, trim, insulation, and framing to deteriorate.
A flashing failure may not produce an immediate ceiling stain. Water can travel along rafters or roof decking before becoming visible indoors. By the time a homeowner notices discoloration, peeling paint, or soft drywall, the original entry point may be several feet away.
Proper flashing helps protect against:
- Rot in roof decking and wall framing
- Wet insulation and reduced energy performance
- Mold-friendly moisture conditions
- Damage to ceilings, walls, and interior finishes
- Pest entry through deteriorated building materials
- Repeated leaks during rain or snowmelt
What are the main types of roof flashing?
Different parts of a roof use different flashing designs.
Step flashing is used where a sloped roof meets a vertical wall, such as beside a dormer. Individual pieces are layered with the shingles so water is directed downward without relying on one continuous exposed seam.
Counterflashing is often installed with masonry chimneys. It covers or overlaps the upper portion of base flashing and helps prevent water from entering between the chimney and the roof.
Valley flashing is installed where two roof planes meet. Valleys collect significant amounts of water, and improperly installed or damaged valley materials can lead to leaks that spread across a large area.
Drip edge flashing is installed along roof edges. It helps direct runoff into the gutters or away from the fascia while limiting water movement under the roofing material.
Kick-out flashing is used where a roof edge meets the end of a wall. Its purpose is to push water away from the wall and into the gutter or clear of the siding. Without it, runoff can soak the sidewall and cause staining or hidden decay.
Pipe boot flashing surrounds plumbing vent pipes that pass through the roof. The boot forms a seal around the pipe while the base is integrated with the roofing layers.
What does damaged flashing look like?
Some warning signs are visible from the ground, while others require a closer inspection. Look for:
- Rusted, bent, cracked, or missing metal
- Loose flashing after high winds
- Exposed roofing cement or caulk used as a previous repair
- Shingles lifting near walls, valleys, or roof openings
- Water stains on ceilings or upper walls
- Damp attic insulation
- Darkened or soft roof decking
- Peeling paint or staining below roof-to-wall joints
- Granules collecting heavily in gutters near a flashing area
Caulk is not a substitute for properly layered flashing. Sealants can have a limited role in certain details, but exposed caulk can crack, shrink, or separate as materials expand and contract.
How do flashing problems develop?
Flashing may fail because of age, corrosion, wind, ice movement, poor installation, or changes made during later roofing work. A roof replacement can also expose an older flashing problem if the new shingles are installed around deteriorated materials.
Common installation mistakes include:
- Placing flashing over shingles when it should be integrated beneath them
- Omitting step flashing where a roof meets a wall
- Failing to extend flashing far enough up a wall
- Using one continuous piece where layered step flashing is needed
- Leaving gaps at corners
- Installing a valley detail that does not shed water properly
- Not connecting kick-out flashing to the drainage path
- Covering old, damaged flashing without correcting the underlying problem
Roof penetrations should be inspected whenever roofing is replaced or repaired. A new layer of shingles cannot correct a cracked pipe boot, poorly sealed skylight curb, or deteriorated chimney flashing.
Can homeowners inspect roof flashing safely?
A ground-level inspection is usually the safest first step. From the yard, look for visible gaps, bent metal, missing shingles, staining, or water entering around roof projections. Attic access can also provide useful information if the space is safe to enter.
During an attic inspection, check for:
- Damp wood
- Water stains
- Wet insulation
- Daylight visible through roof joints
- Mold-like discoloration
- Active dripping during or after rain
Avoid walking on a steep, wet, icy, or fragile roof. Roof surfaces can be slippery even when they appear dry, and concealed damage may not support a person’s weight. Chimneys, skylights, and roof edges also create fall hazards.
If water is actively entering near electrical wiring, ceiling fixtures, or a sagging ceiling, keep clear of the area and address the immediate safety risk before investigating the roof.
How can flashing last longer?
Flashing tends to perform well when water has a clear drainage path and nearby roofing materials remain secure. Basic maintenance includes keeping gutters and downspouts clear, removing leaves from valleys where safe, and checking for damaged shingles after strong wind or heavy snow.
Interior signs should not be ignored. A small stain that dries between storms may still indicate an active leak during certain wind directions or snow conditions.
In older homes and houses with multiple roof additions, flashing details may be more complicated. Different roof sections can meet at awkward angles, creating areas where water and debris collect. These transitions deserve extra attention during routine roof inspections and after remodeling work.
The most reliable flashing is not simply the most visible metal. It is a complete, layered drainage system in which shingles, underlayment, membranes, wall materials, and flashing overlap in the correct direction. Water should always be able to move downward and outward without being forced behind the roof covering.